Experiments with Netlify Identity
Posted on in WebIdentity is next on the list in my quest to try all of Netlify’s features.
It’s an authentication suite built atop of their open source GoTrue API; handling signups, logging in, security, account confirmation, invitation emails and password resets.
Previous attempts
In the past, I’ve had a crack at building a custom authentication system for a side-project. Turns out, it’s really hard to get right. On the face of it, users are rows in a table and editing is a job for CRUD.
But then you start thinking about security, and then hashing and salting passwords, and then unique details, and then confirmation flows… The list goes on and on.
Password reset flow was one of the biggest stumbling blocks for me. Again, it appears to be quite a simple task, the user types in their email, they receive a message with a link, then they set a new password. But stop and think, that’s a pretty big deal. You’re letting an unauthenticated user change someone’s password! Timed tokens, one-time keys and storing failed tokens are all part of the hell that is authentication.
Taking the pain away
The first step into using Identity is the no configuration Identity Widget. You load in the library and a few divs, and it takes care of the rest.
<!DOCTYPE html>
<html>
  <head>
    <script src="https://identity.netlify.com/v1/netlify-identity-widget.js"></script>
  </head>
  <body>
    <div data-netlify-identity-menu></div>
    <div data-netlify-identity-button>Sign up / Log in</div>
  </body>
</html>
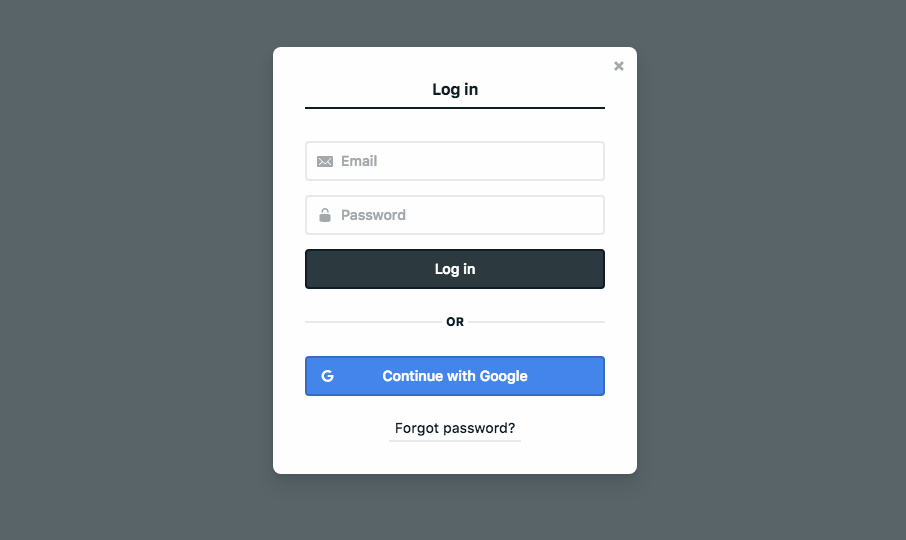
That’s pretty cool, right?! Google OAuth and custom logins with three lines of code.
Within your code, call netlifyIdentity.currentUser() to get the logged-in user object and interact with it.
Making it custom
This widget is great, but what if you want custom styling for your authentication flow? This is where GoTrue JS comes in.
The Identity Widget is built on top of this API. Fortunately, we can do the same.
Commence the experimentations!
I like to start with HTML, as it’s a very good place to start. The login form looks a bit like this:
<form class="identity-form-login" method="POST" action="/">
  <h2>Login</h2>
  <label for="email">Email:</label>
  <input type="email" id="email" name="email" required>

  <label for="password">Password:</label>
  <input type="password" id="password" name="password" required>

  <input type="submit" value="Login">
</form>
Then it’s time to get the gotrue-js library loaded in. I’m using the ES6 setup from victor-hugo.
import GoTrue from 'gotrue-js'
This on it’s own won’t do a lot. The library needs to be instantiated. On a live server, this would be quite straightforward. But on localhost you have to be more prescriptive. There were some CORS issues when using setCookie on localhost, hence the extra check at the start:
// Find out if we're on localhost
const isLocal = document.location.host.split(':').shift() === 'localhost'

// Instantiate the library, passing in the live API URL
// and whether it should save cookies
const auth = new GoTrue({
  APIUrl: 'https://hello-haibt-1ge4hp.netlify.com/.netlify/identity',
  setCookie: !isLocal
});

// Get the current user object, or null if no-ones logged in
const user = auth.currentUser()

// Log it for next time around
console.log(user)
Now we can add some JavaScript to catch the form submit event and pass it to Identity:
const loginForm = document.querySelector('.identity-form-login')
loginForm.addEventListener('submit', function(event) {
  event.preventDefault();
  auth.login(this.email.value, this.password.value, true).then(
    user => window.location.href = '/',
    error => console.error("Failed to log in: %o", error)
  )
})
By setting the name attribute on the input elements, there’s no need to use more querySelector() calls, this.email.value will do the trick.
With all of this in place, and assuming there are no errors in the console, the page should’ve been reloaded, and there should be a user object sitting in the console from the earlier log.
Logging out
Once again, let’s start with HTML and then add JS.
<button type="button" class="identity-logout">Logout</button>
const logoutButton = document.querySelector('.identity-logout')
logoutButton.addEventListener('click', function() {
  const user = auth.currentUser()
  if (!user) return
  user.logout().then(
    response => window.location.href = '/',
    error => console.error("Failed to logout user: %o", error)
  );
})
As the logout method is called on the user object, an initial check for the user is important. If it’s null (ie. logged out), the function returns early.
Sign ups
Signing up is a similar process to logging in. The main difference being the confirmation email that’s sent to the user when the form is submitted. We don’t need to handle the email itself, only pass the details off to Identity.
<form class="identity-form-signup" method="POST" action="/">
  <h2>Sign up</h2>
  <label for="name">Your name:</label>
  <input type="text" id="name" name="name" required>

  <label for="email">Email:</label>
  <input type="email" id="email" name="email" required>

  <label for="password">Password:</label>
  <input type="password" id="password" name="password" required>
  <input type="submit" value="Sign up">
</form>
const signupForm = document.querySelector('.identity-form-signup')
signupForm.addEventListener('submit', function(event) {
  event.preventDefault();
  auth.signup(
    this.email.value,
    this.password.value,
    { full_name: this.name.value }
  ).then(
    response => console.log("Confirmation email sent"),
    error => console.error("Error during signup: %o", error)
  );
})
You can also pass in extra user metadata as a third argument to the signup method.
Invitations
The next step is to respond to the confirmation & invitation tokens. This might seem like an arduous step, but I love that we’re given the option to handle it, and make it feel as integrated into our sites as possible.
Let’s start with invitations. When you invite a user from the Netlify admin area, they receive an email asking them to finish setting up their account. Our site needs to provide a form to let them set a password:
<form class="identity-form-confirm identity-hide" method="POST" action="/">
  <h2>Confirm</h2>
  <label for="password">Password:</label>
  <input type="password" id="password" name="password" required>
  <input type="submit" value="Set up account">
</form>
In the email sent by Netlify, they add a token to the URL. To that end, we only want to show this form if the token is present. I’ve added a CSS rule for .identity-hide, setting display: none. If the token is present in the URL, the class is removed and the form becomes visible.
if (window.location.hash && window.location.hash.indexOf('#invite_token=') === 0) {
  const token = window.location.hash.replace('#invite_token=', '')
  const confirmForm = document.querySelector('.identity-form-confirm')
  confirmForm.classList.remove(hideClass)
  confirmForm.addEventListener('submit', function(event) {
    event.preventDefault()
    auth.acceptInvite(token, this.password.value, true).then(
      user => window.location.href = '/',
      error => console.error("Failed to log in: %o", error)
    );
  })
}
Note the true flag being passed into auth.acceptInvite(). By including it, GoTrue will automatically log the user in once they submit the form - it’s a nice detail that’s often overlooked.
Confirmations
Confirmations are more straightforward as the user has already set their password; all we need is a bit of JavaScript:
if (window.location.hash && window.location.hash.indexOf('#confirmation_token=') === 0) {
  const token = window.location.hash.replace('#confirmation_token=', '')
  auth.confirm(token, true).then(
    user => window.location.href = '/',
    error => console.error("Failed to log in: %o", error)
  );
}
I haven’t tried password/email recovery yet, but I imagine they’ll be similarly implemented. If there are complications, I’ll write another blog post.
Custom emails
One thing I wanted to mention was custom emails. In your account area, Netlify lets you override the emails that get sent to the user. There were two noteworthy things I found:
Paths

The custom template path is relative to your build directory, not your repository. If you’re generating files into a dist or public directory, you must make sure the email templates are moved in there too. For the Nuxt build I was working on, moving the email folder into static/email was sufficient, but it did trip me up initially.
Custom confirmation URLs
By default, the confirmation and invitation URLs looking something like /#invite_token=.... Once you start building something more substantial, changing these URLs becomes important. The GoTrue readme suggests the environment variable: GOTRUE_MAILER_URLPATHS_CONFIRMATION but I wasn’t able to make this work within Netlify’s build environment variables. Still not sure why, but hey, that’s what comes from using a beta API.
Plan B was to create custom emails so I could specify the path. This time the Identity documentation said the variable: {{ .ConfirmationURL }} was available in the templates. Unfortunately, that was the full URL including the token and domain name. Splitting that up and adding in an extra path would be tricky.
After some repository searching, I found the .go file that triggered the template, and the line that set up the ConfirmationURL variable. It also included some handy undocumented variables:
data := map[string]interface{}{
  "SiteURL":         m.Config.SiteURL,
  "ConfirmationURL": url,
  "Email":           user.Email,
  "Token":           user.ConfirmationToken,
  "Data":            user.UserMetaData,
}
Success! I changed the {{ .ConfirmationURL }} link in the template to:
{{ .SiteURL }}/account/#confirmation_token={{ .Token }}
Not long after, Mathias Biilmann, confirmed this on the community forum.
Thanks to an open source repository, a hugely generous company, and a great community, we as developers are able to make a really custom authentication flow without getting bogged down in backend code or security.
Next steps
This is all leading towards a large side project launching this summer. Integrating this with Netlify Lambda is the next port of call. I’ve done some initial testing and it’s pretty cool, watch this space!
Posted on in Web